How to Create an Image Gallery in WordPress
In this article, we will show you how to create an image gallery in WordPress. The goal is to add your images in a gallery that looks nice and clean. We will also show you how to open your images in a lightbox view to create an immersive full-screen experience.
To create an image gallery for categories in WordPress, you’ll need to follow these 3 steps:
- Install and activate Gmedia Gallery plugin
- Create a new Album and add your images
- Add your image gallery to a post or page
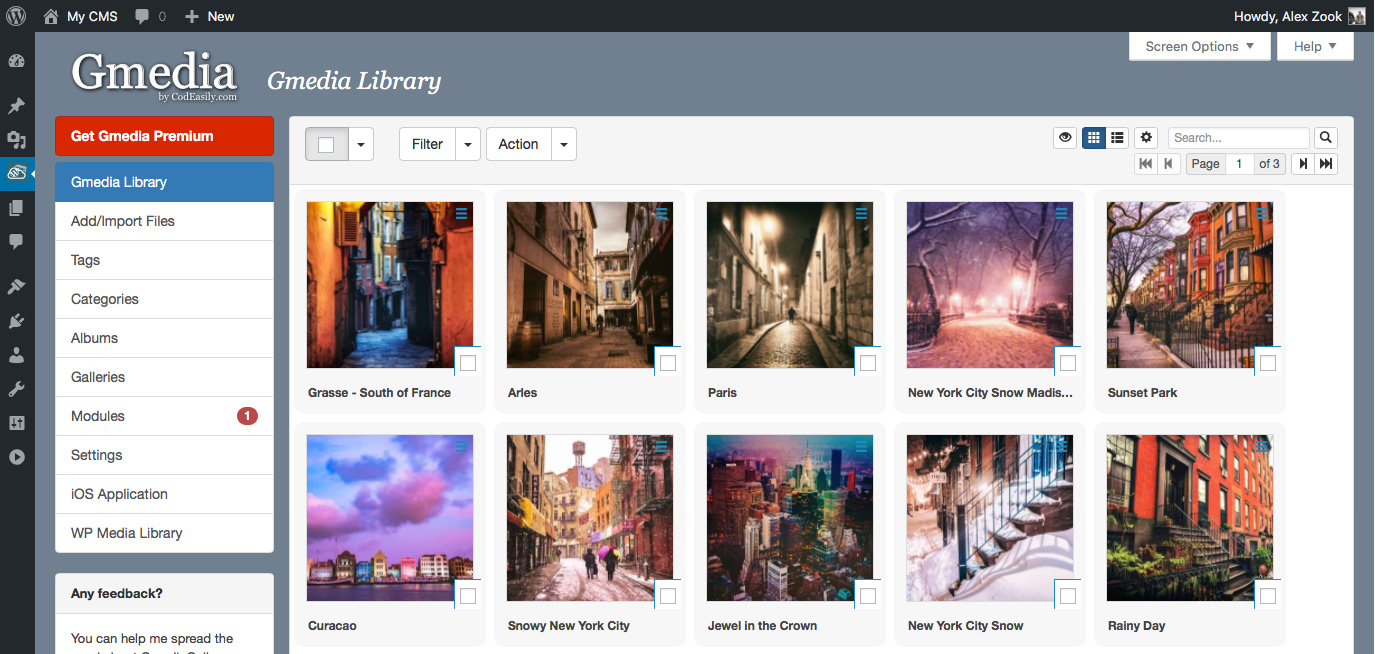
What is Gmedia Gallery?
The Most Intuitive and Extensible Gallery Creation and Management Tool Ever Created for WordPress.
Built to be simple for users and highly flexible for developers.
Video version of the Tutorial
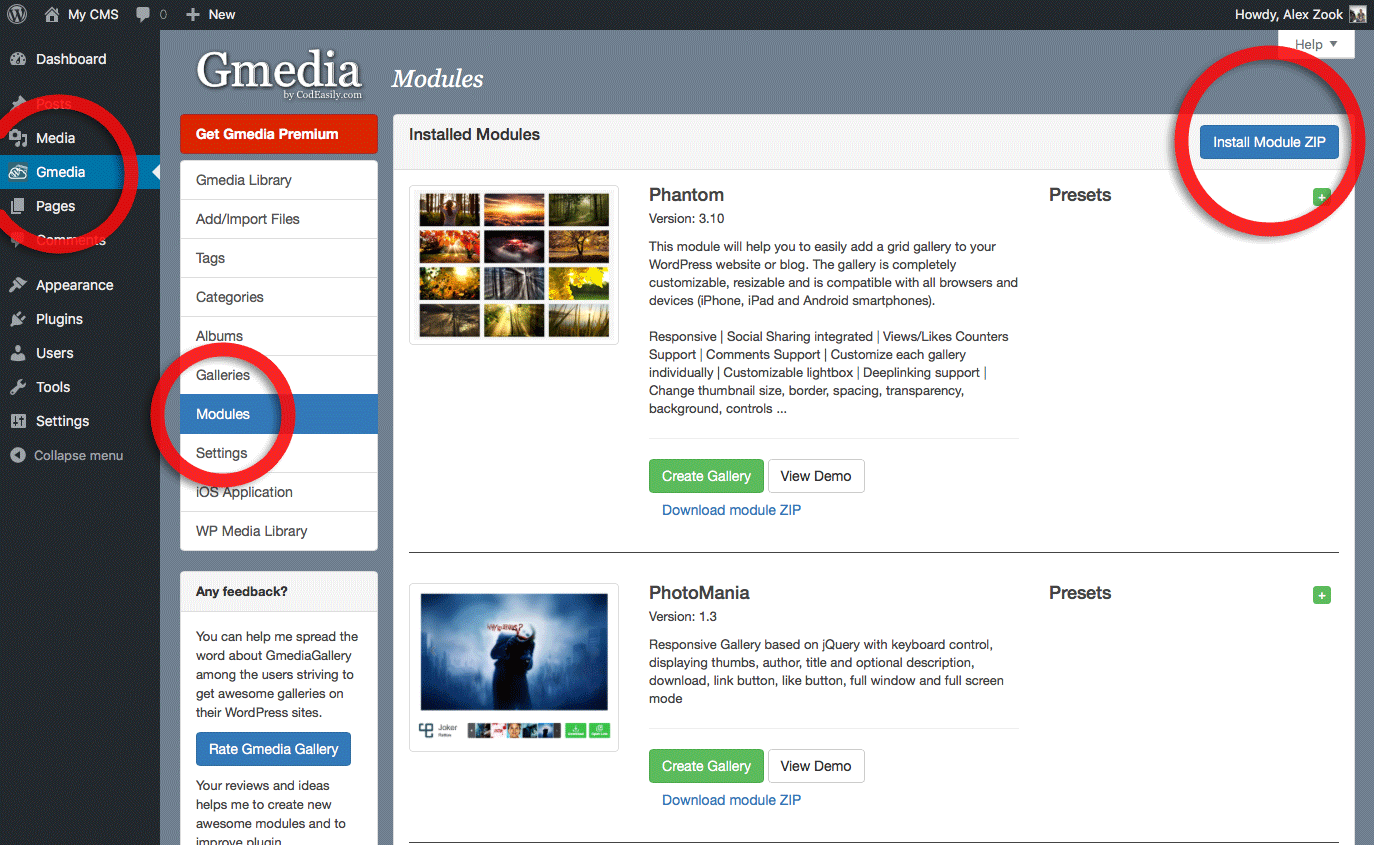
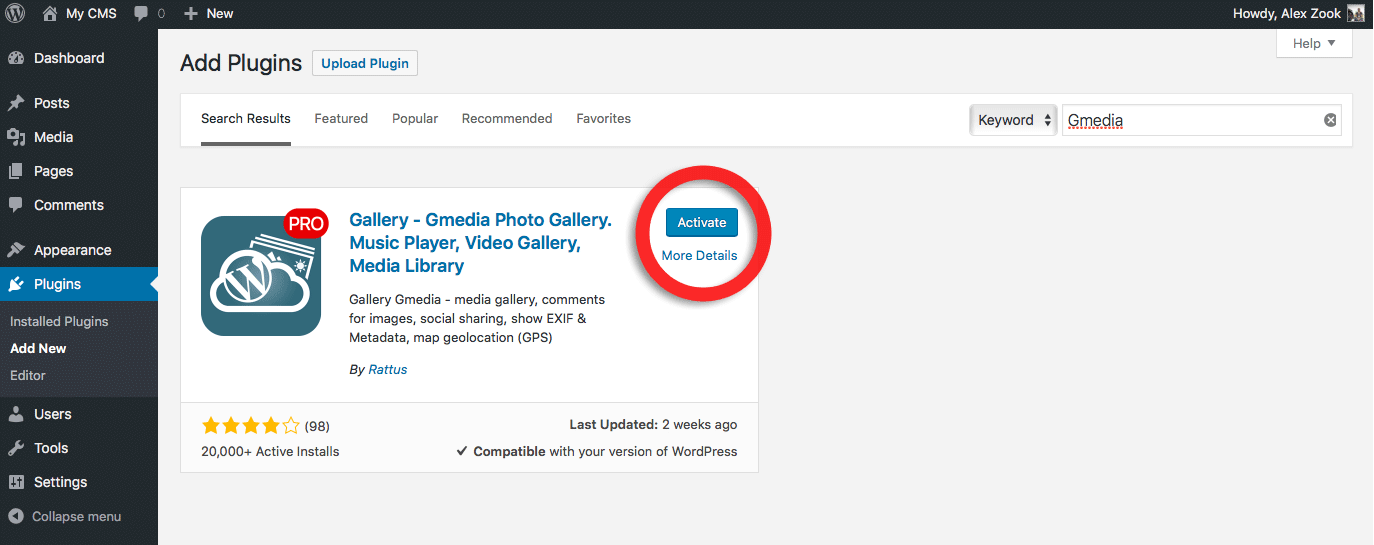
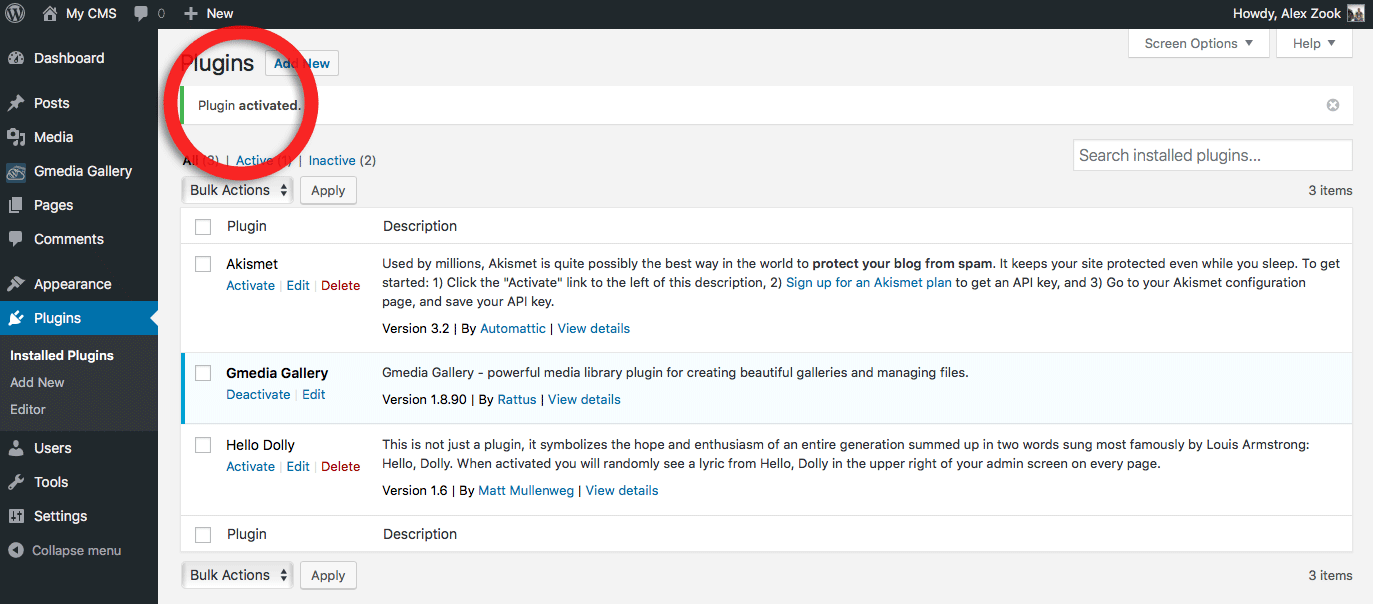
Step 1: Install and Activate Gmedia Gallery Plugin
First thing you need to do is install and activate Gmedia Gallery WordPress plugin.
If you need help, then check out our guide on how to install Gmedia Gallery.
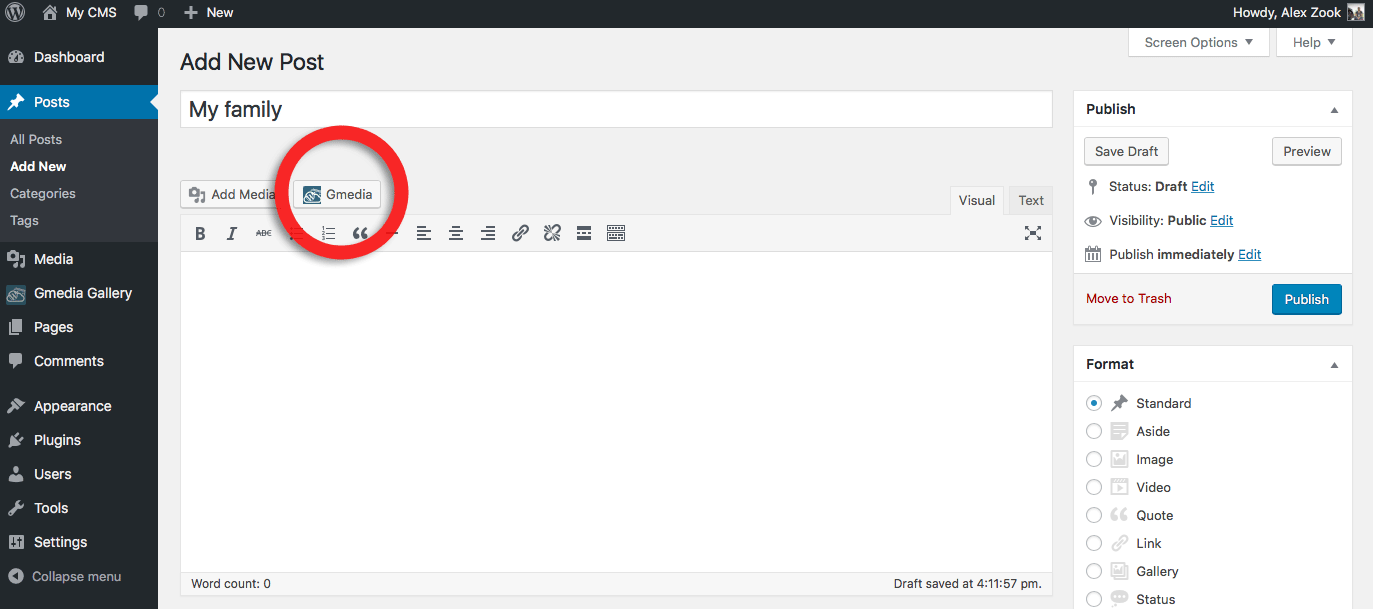
Step 2: Create a new Album and add your images
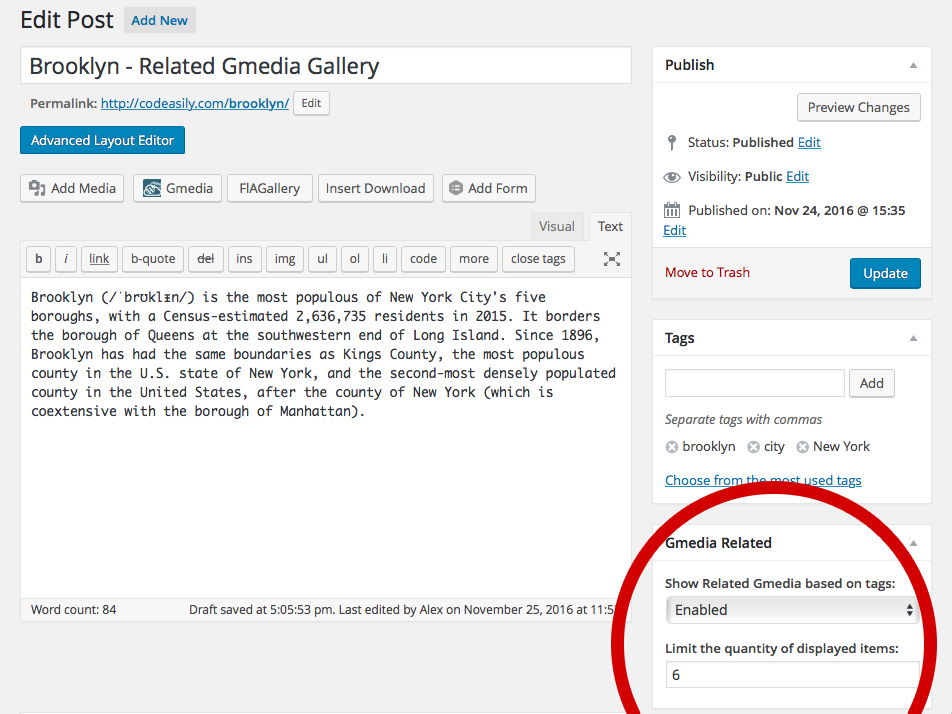
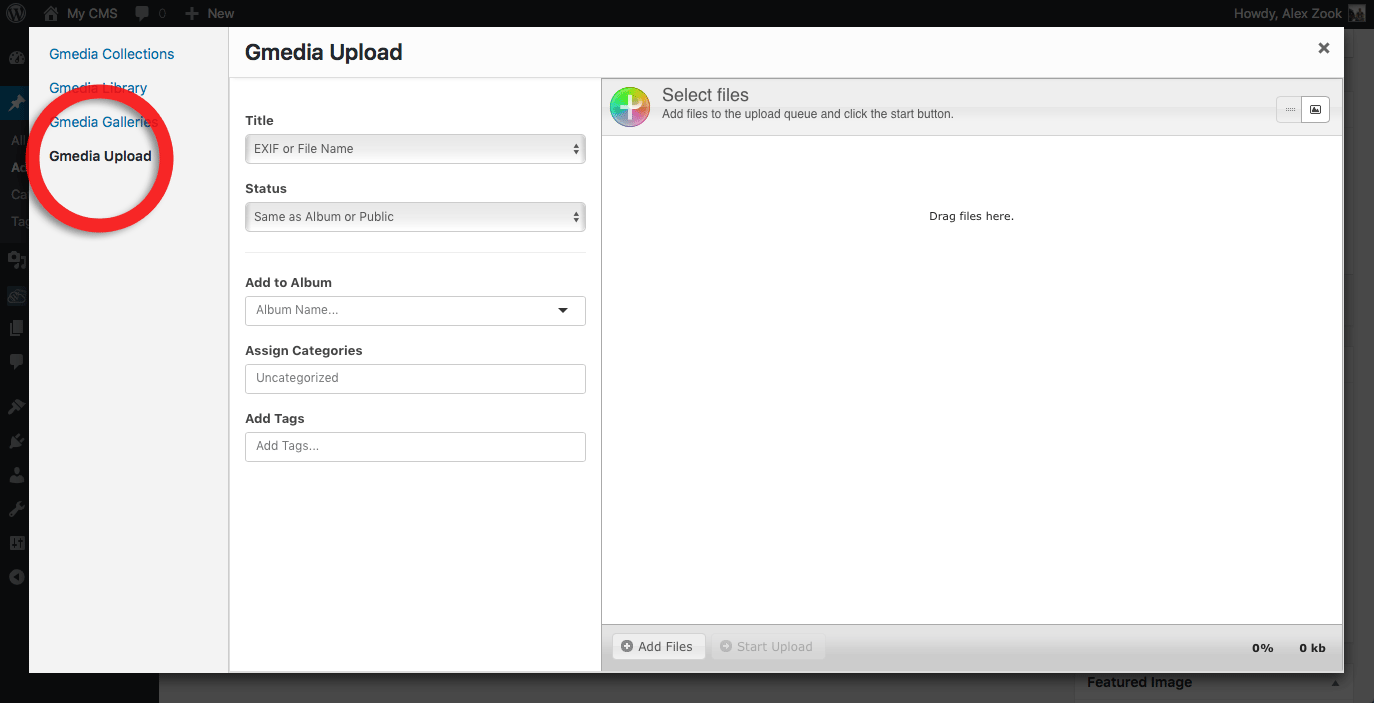
First thing you need to do is to create a new post or page. Alternatively if you want to add the gallery to an existing post, then click to edit that post. Once you are on the post edit screen, you need to click on the Gmedia button.
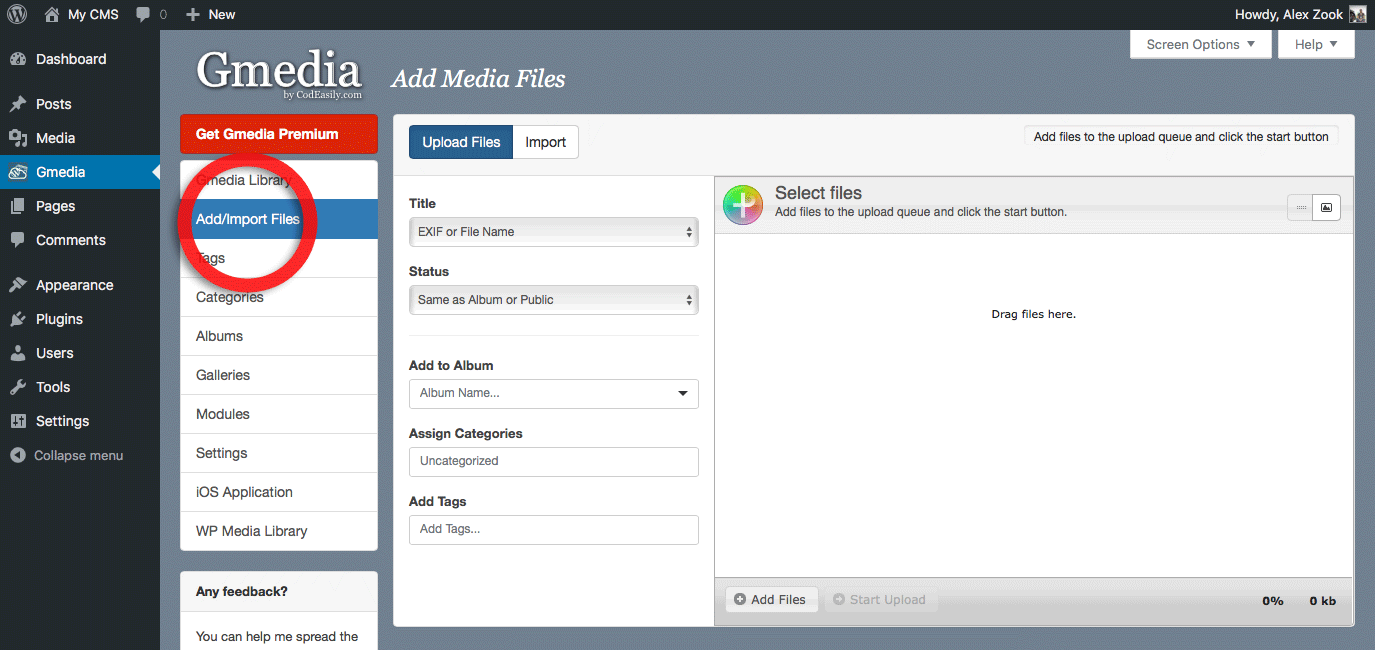
This will open the Gmedia uploader. Now you need to click on Gmedia Upload link that you see on the left side of the screen in order to add images to the Gmedia Library from your computer.
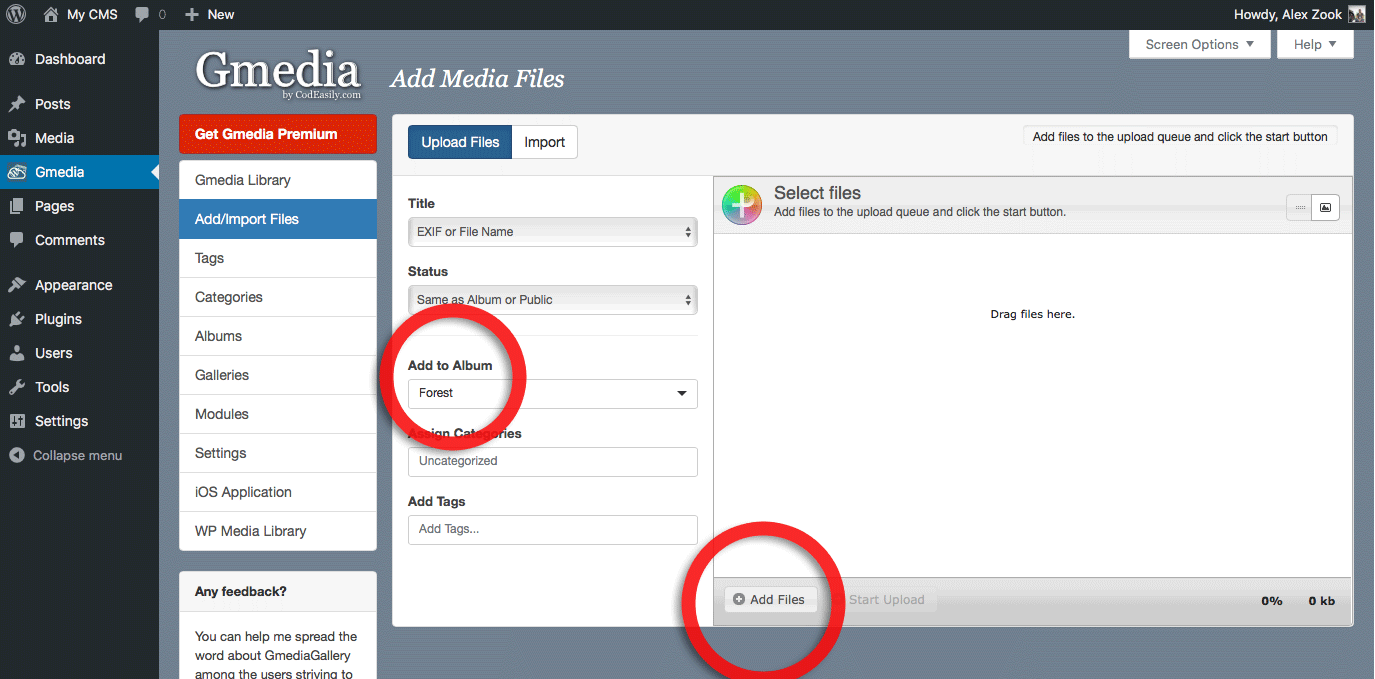
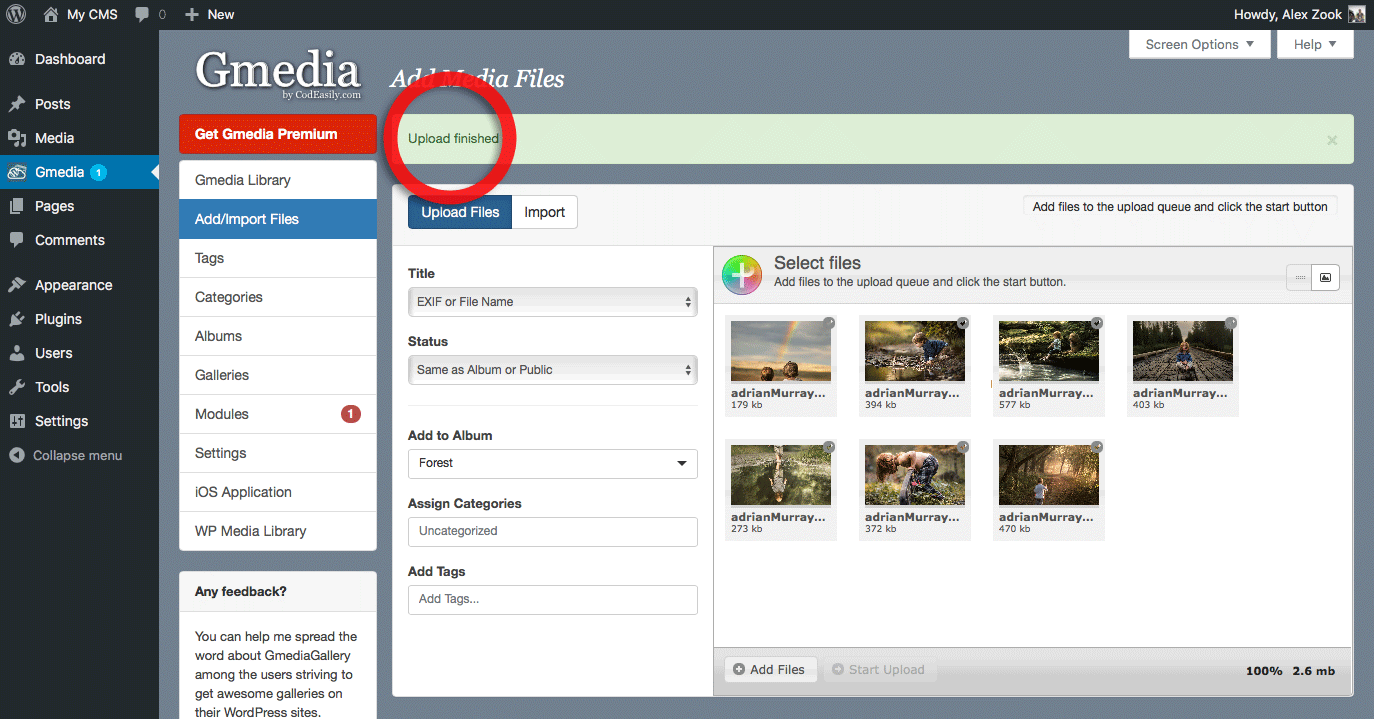
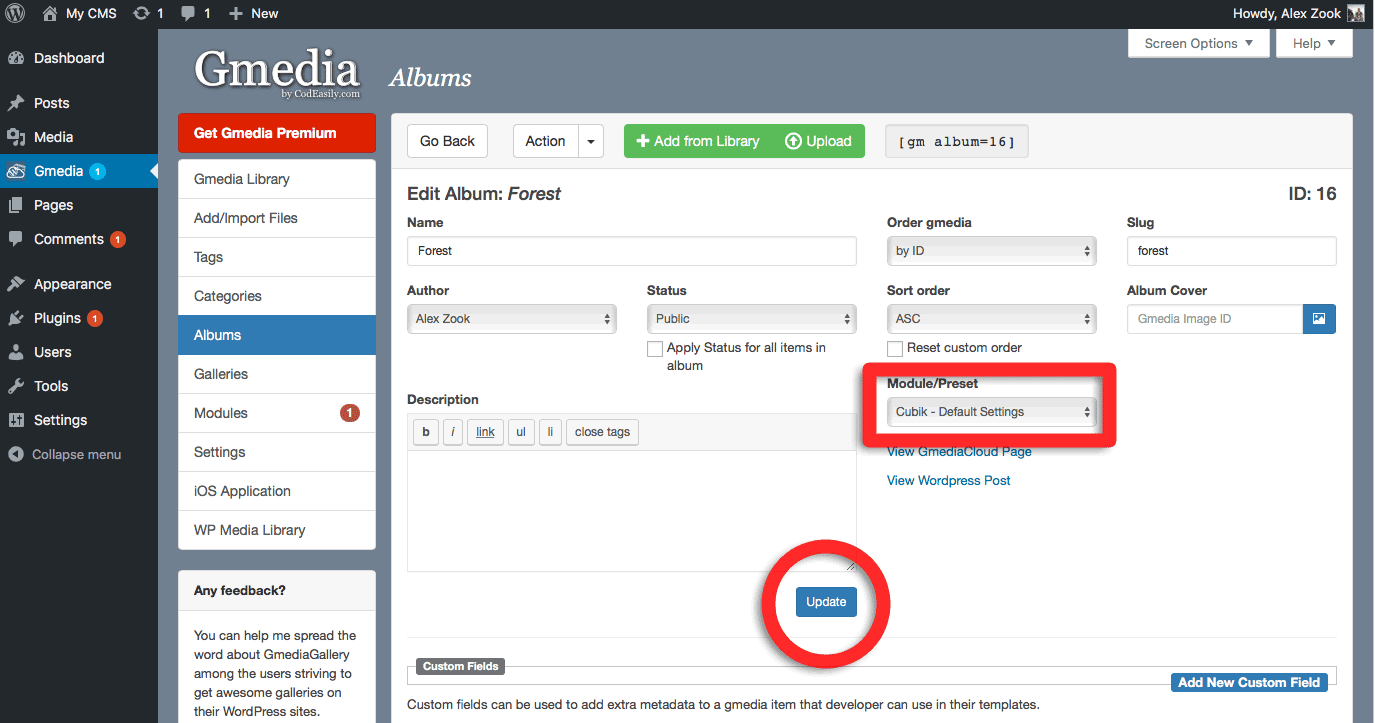
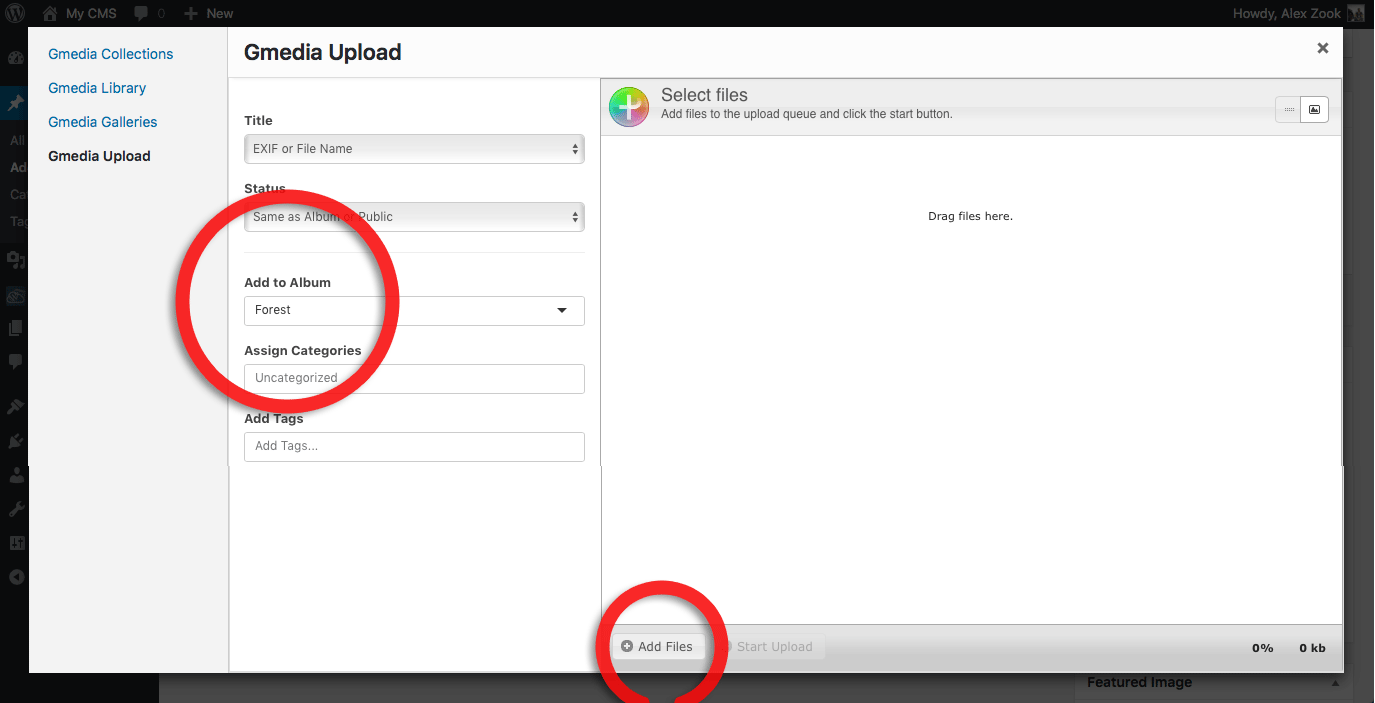
I recommend that you create a new album (it’s easy, enter an album name in the Add to Album field), it will help you organize your photo library, and easy to manage your photo collections in the future. And then You need to click on the Add Files button.
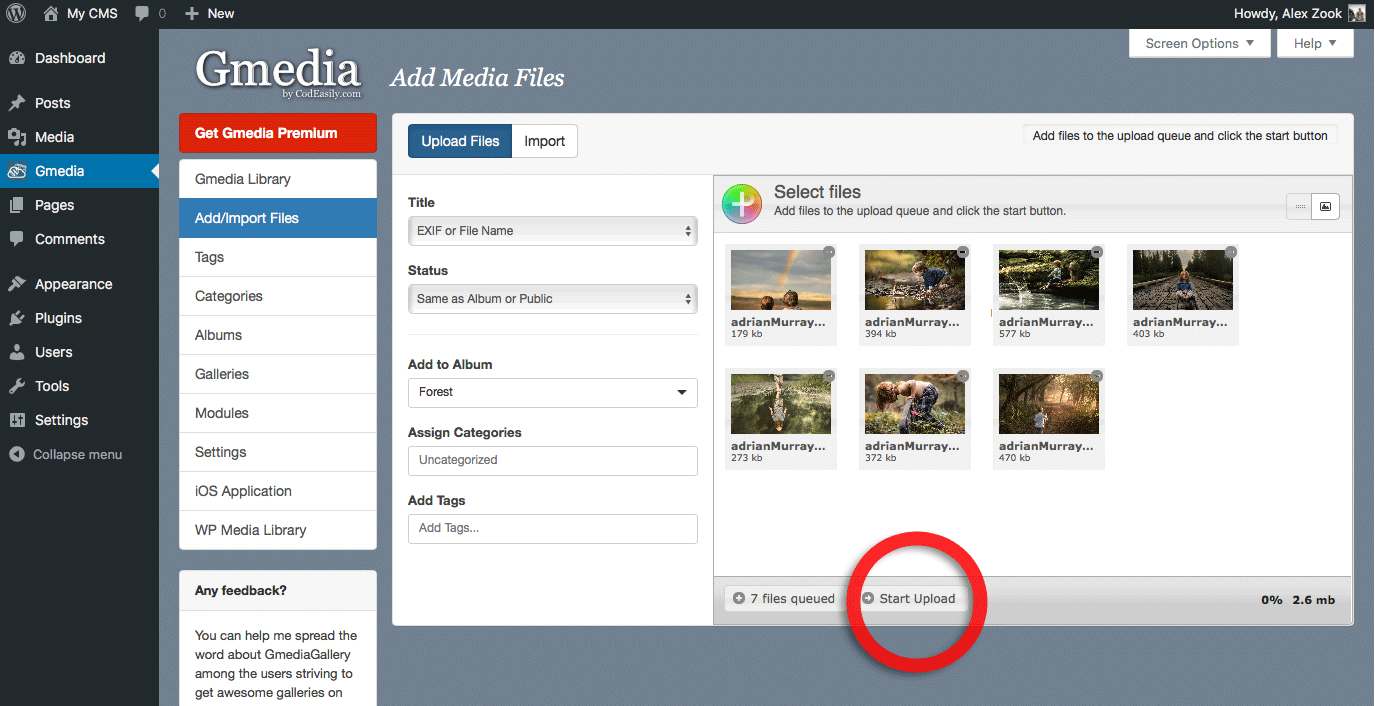
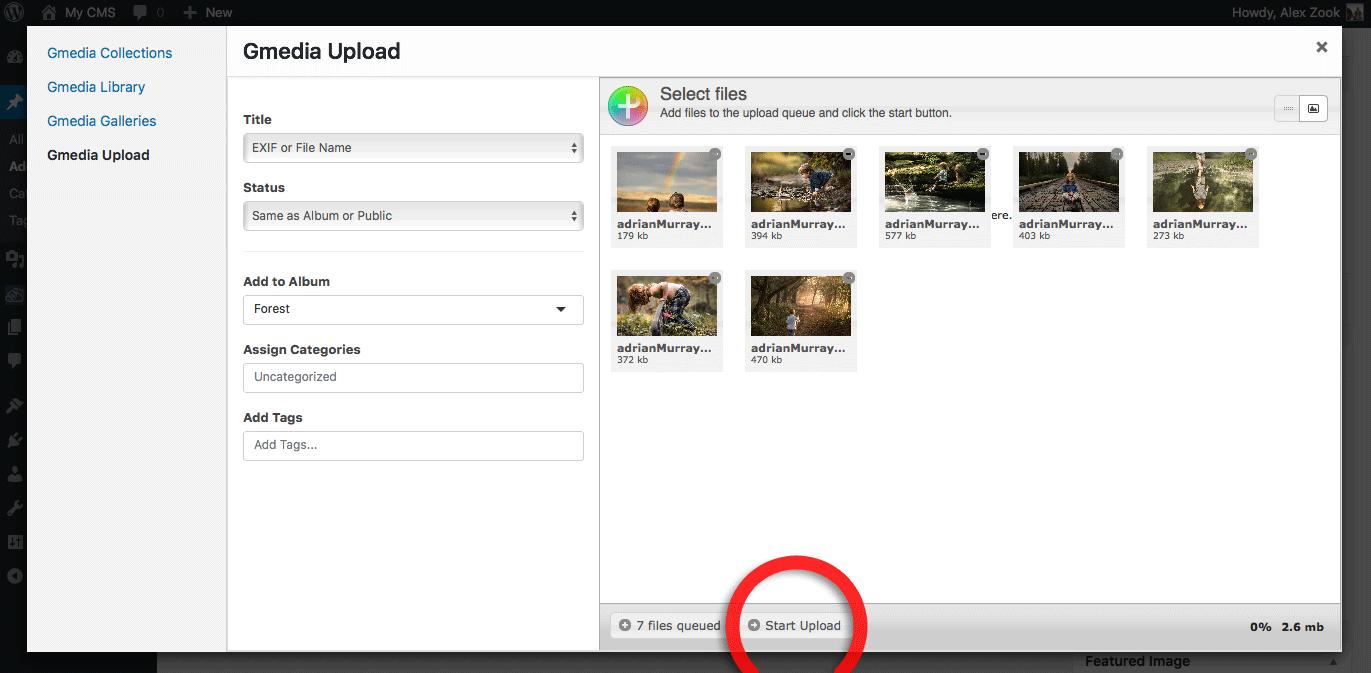
Select the photos to your computer and click the Start Upload button
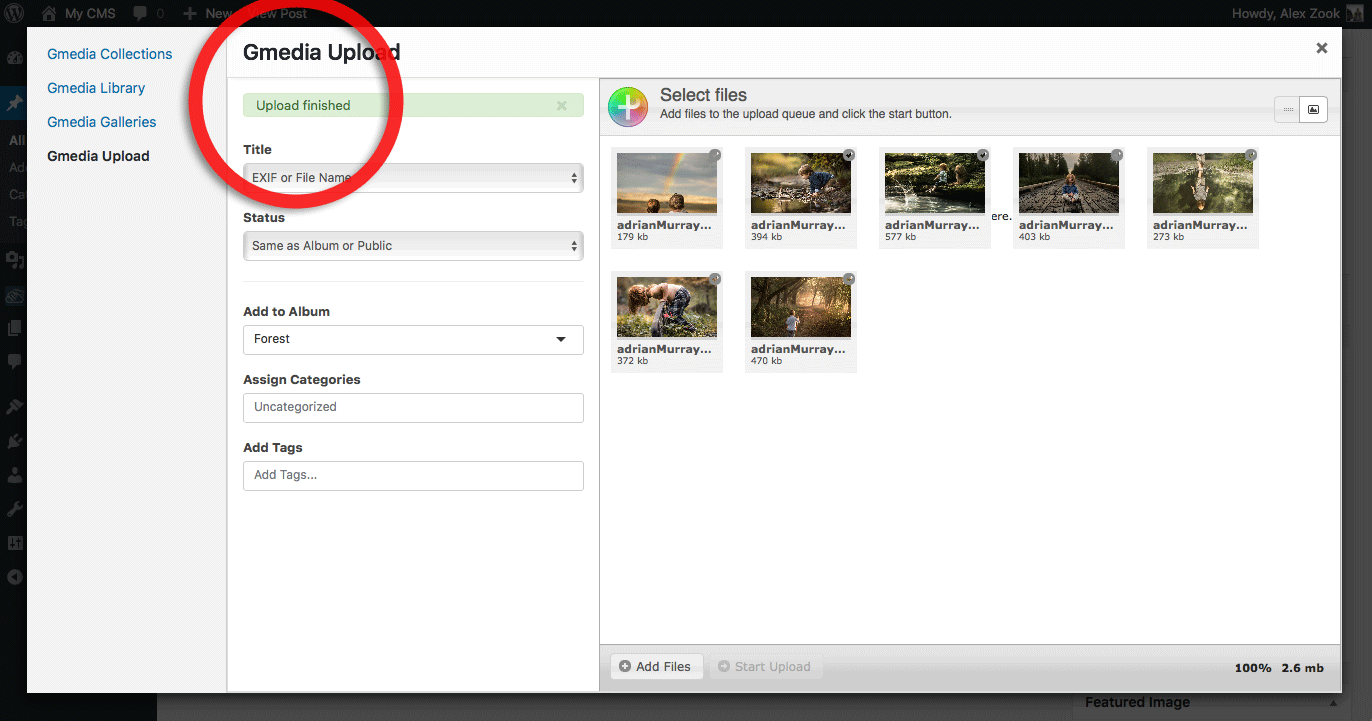
Upload finished – it is a message saying that everything is ready and we can now add a image gallery to the post
Step 3: Add your image gallery to a post or page
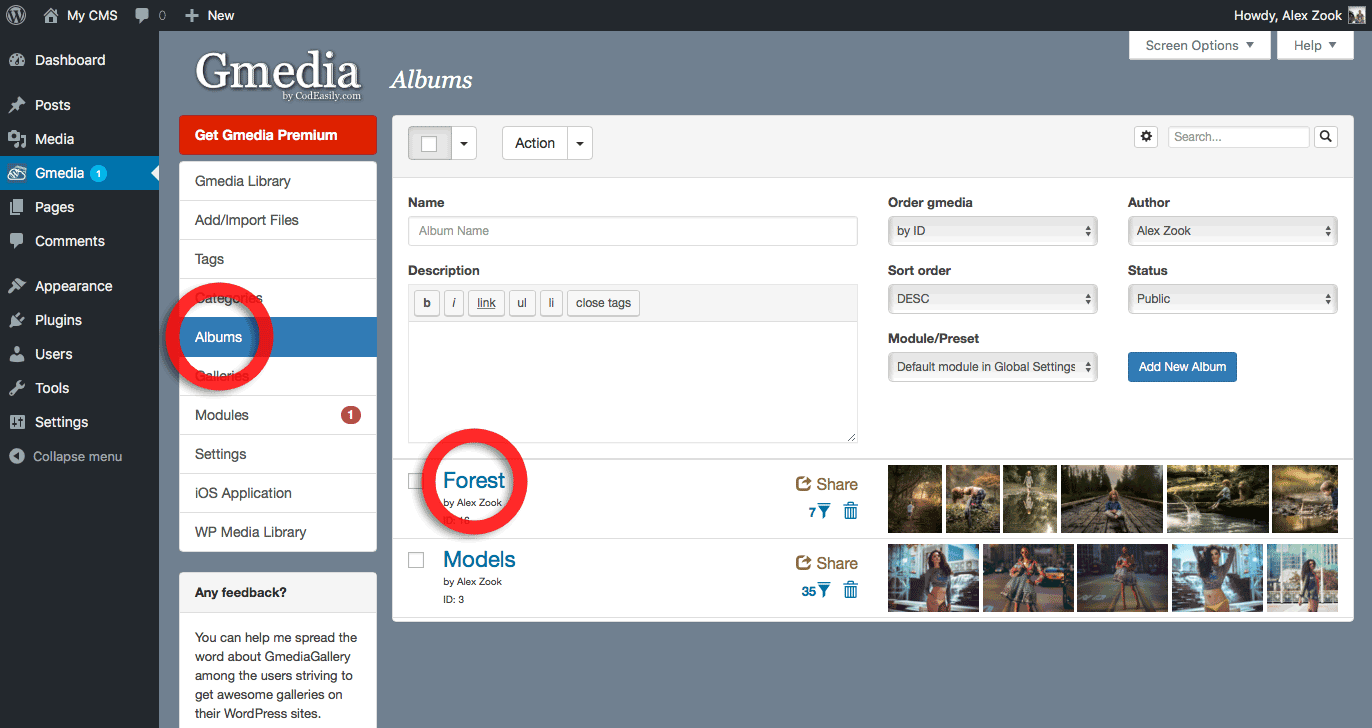
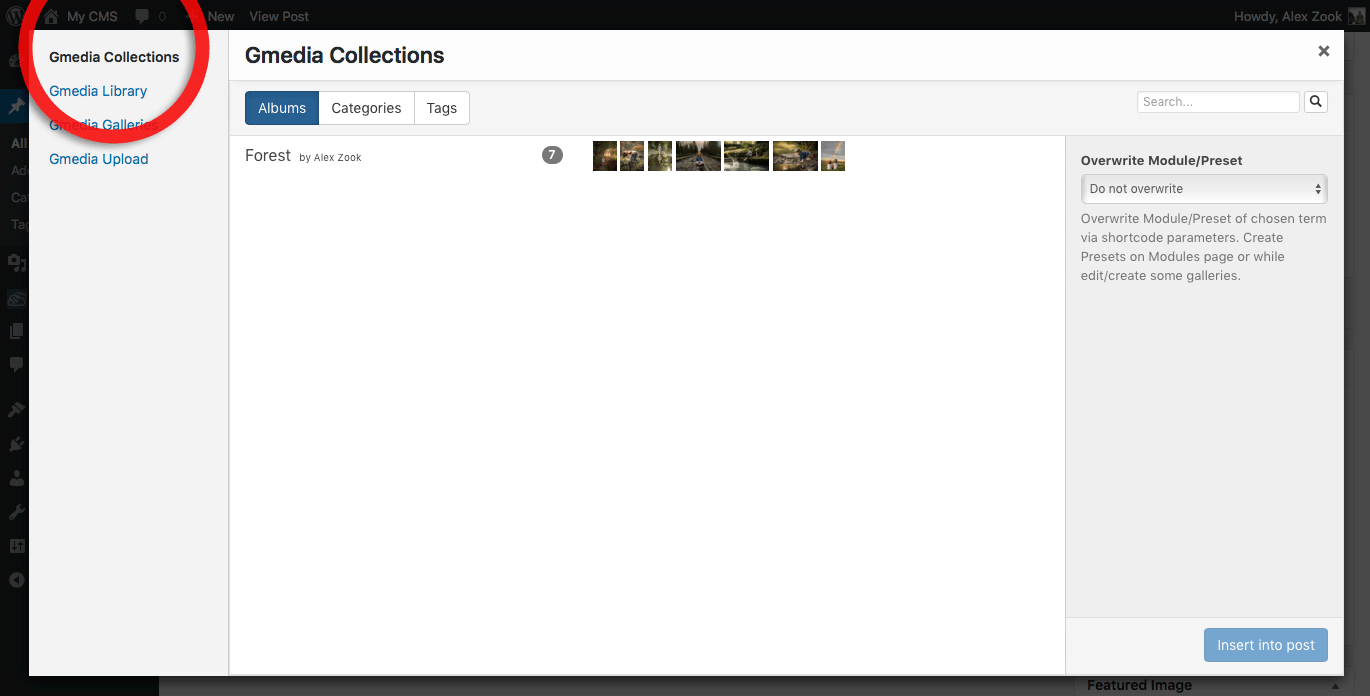
Now we are ready to publish our image gallery. You need to click on Gmedia Collections link that you see on the left side of the screen.
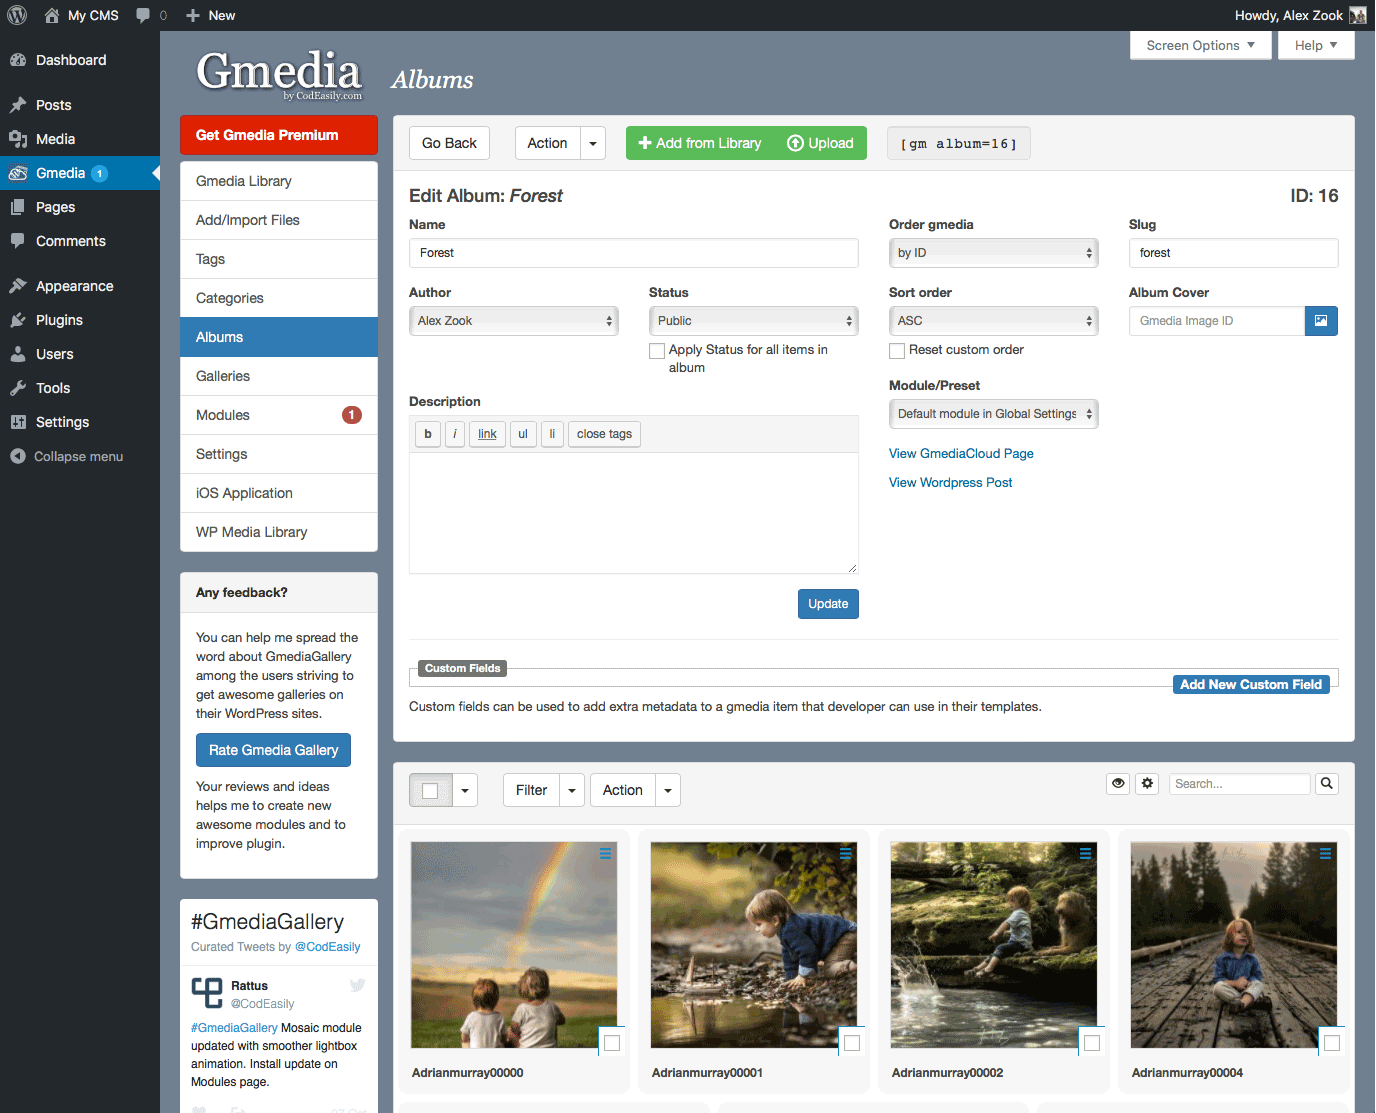
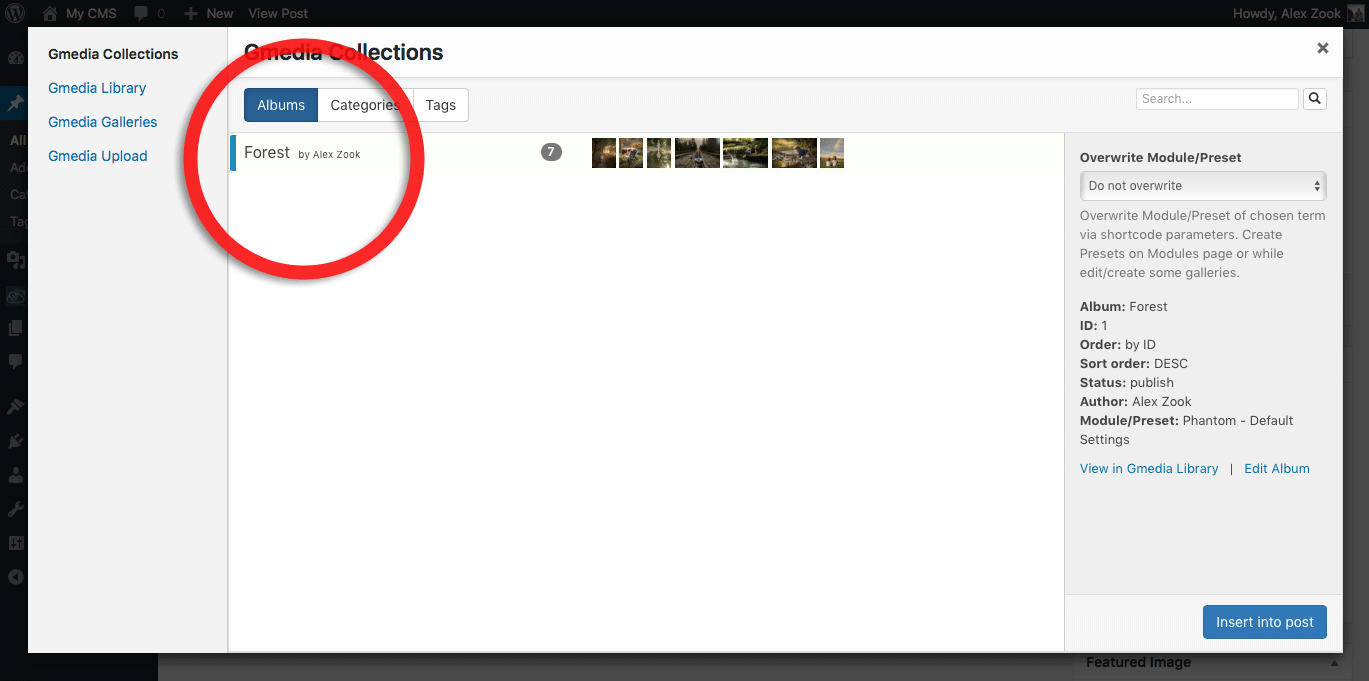
Then you need to choose our photo album, click on the title of the album.
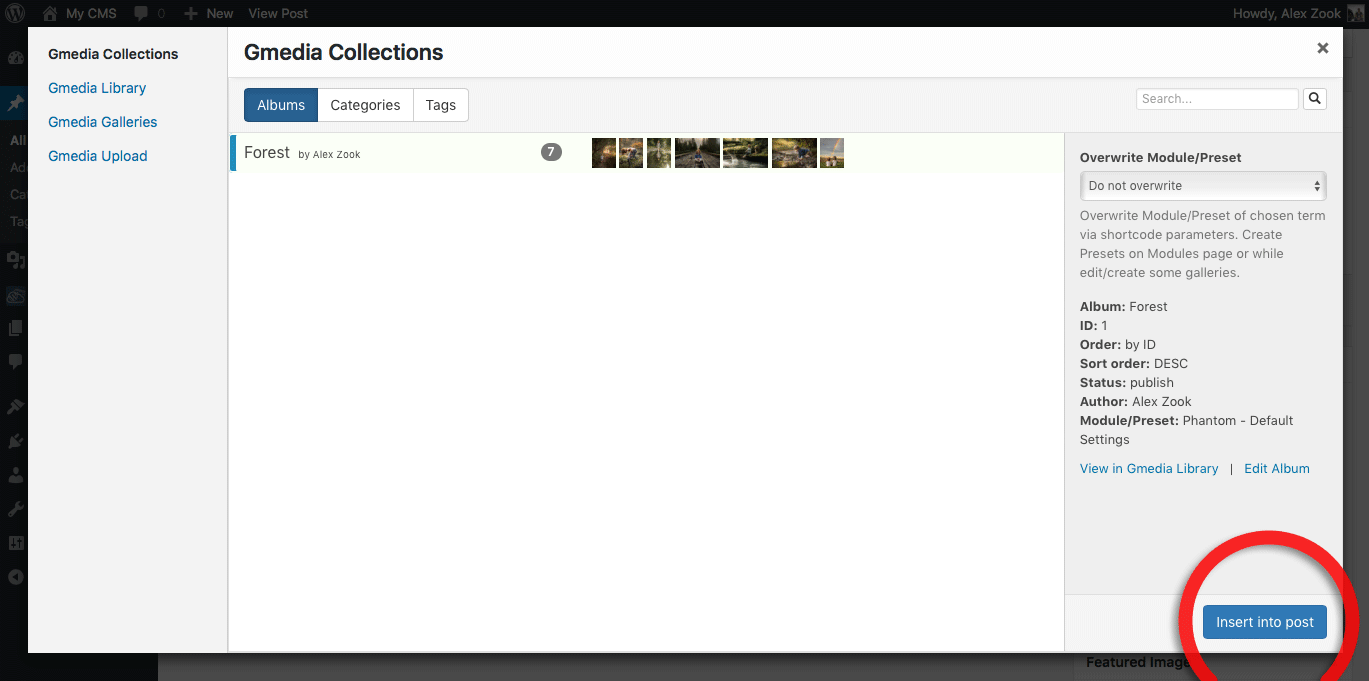
Clicking on Insert into post button will close the Gmedia uploader and insert the gallery code inside your WordPress post.
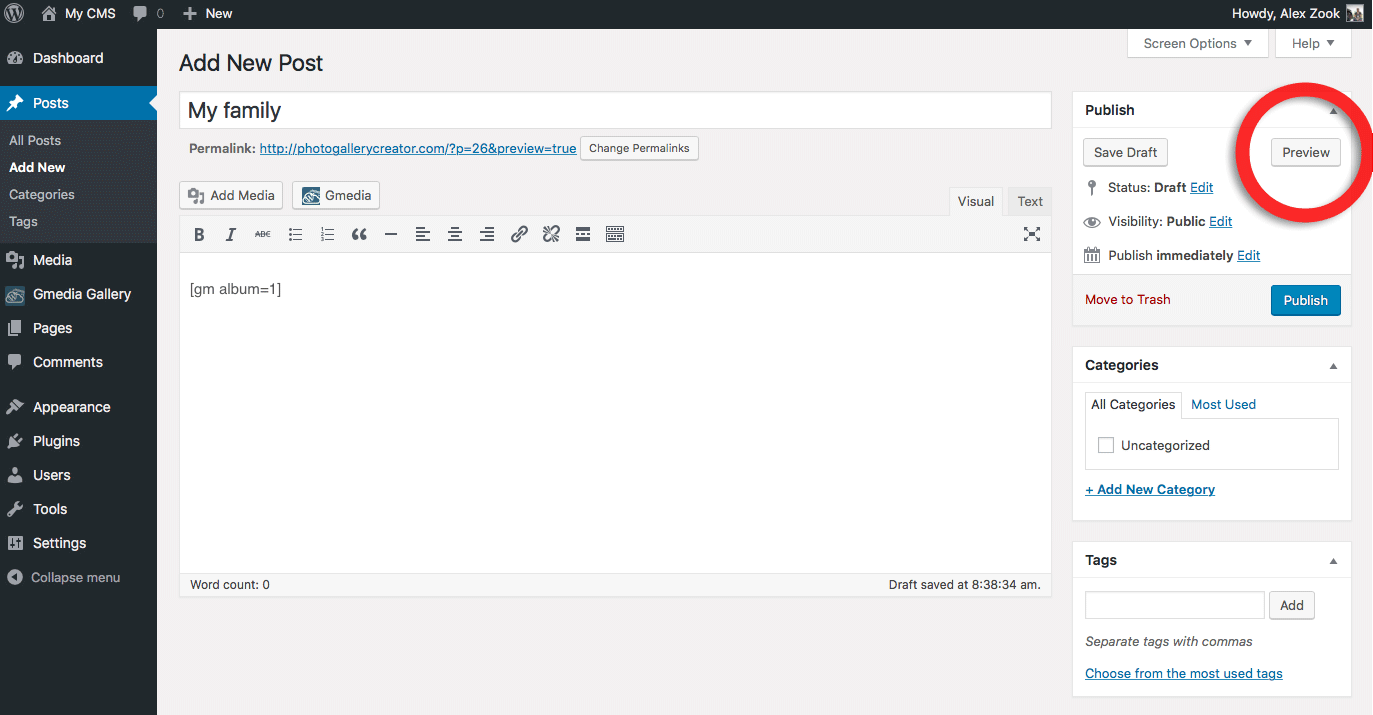
Then you will see your gallery shortcode. Something like this:
[gm album=1]
A quick click of the Preview button shows us that everything is showing up nicely on the front end as well.
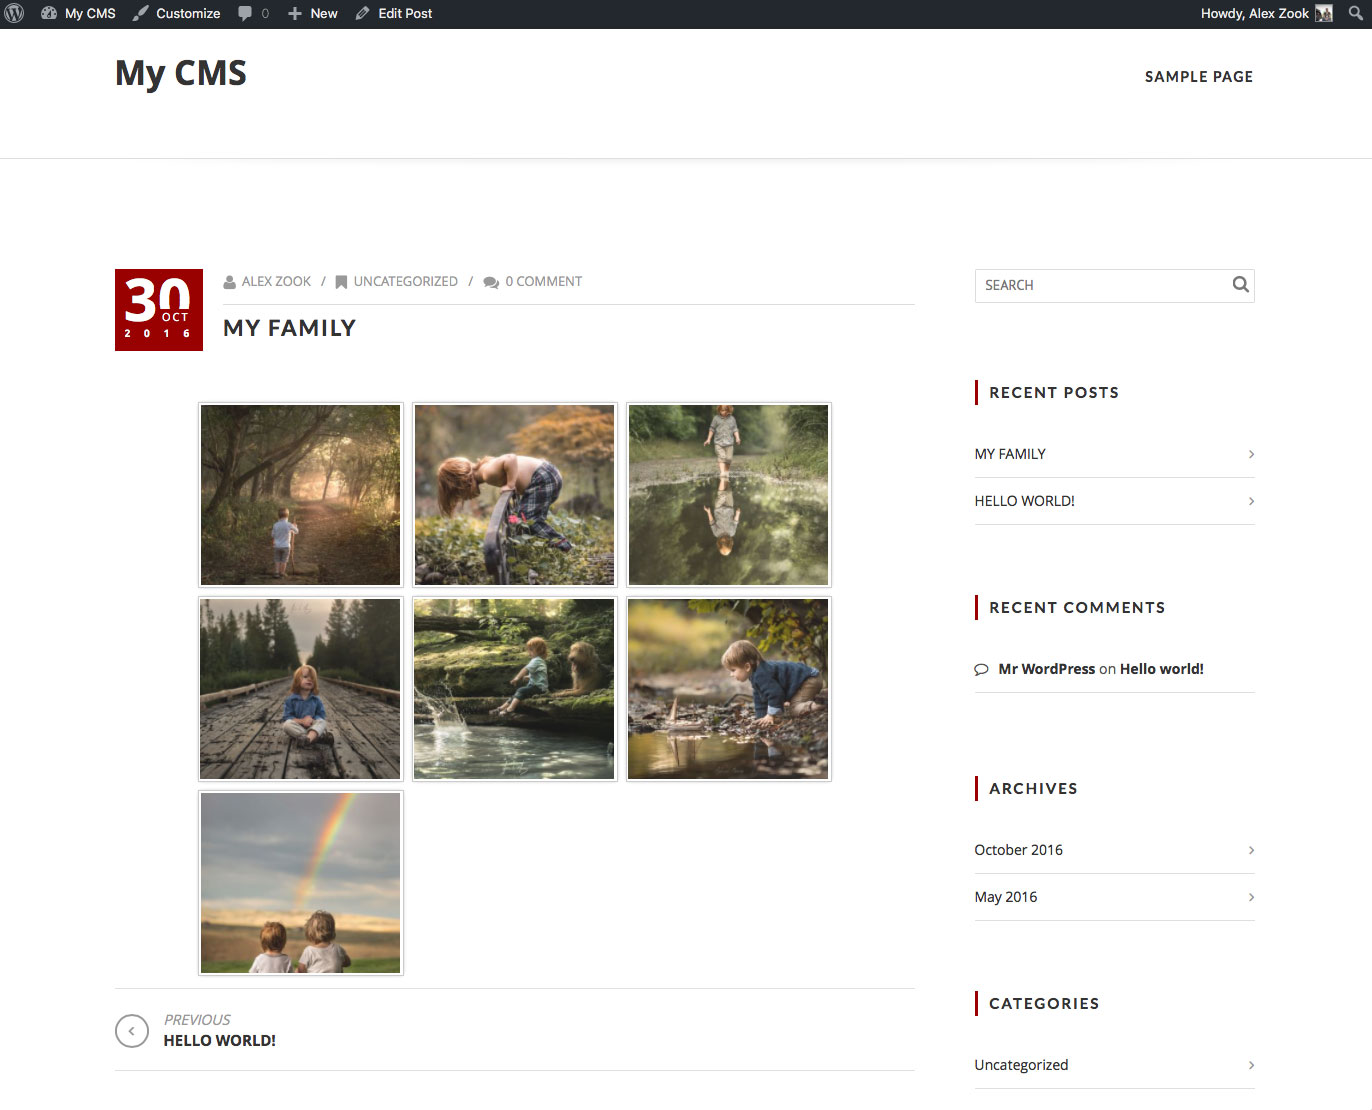
When we preview our post, clicking on any of the images in the gallery pops up a slick-looking, fully functional slideshow that showcases our images in the best possible light and enables easy navigation between them.
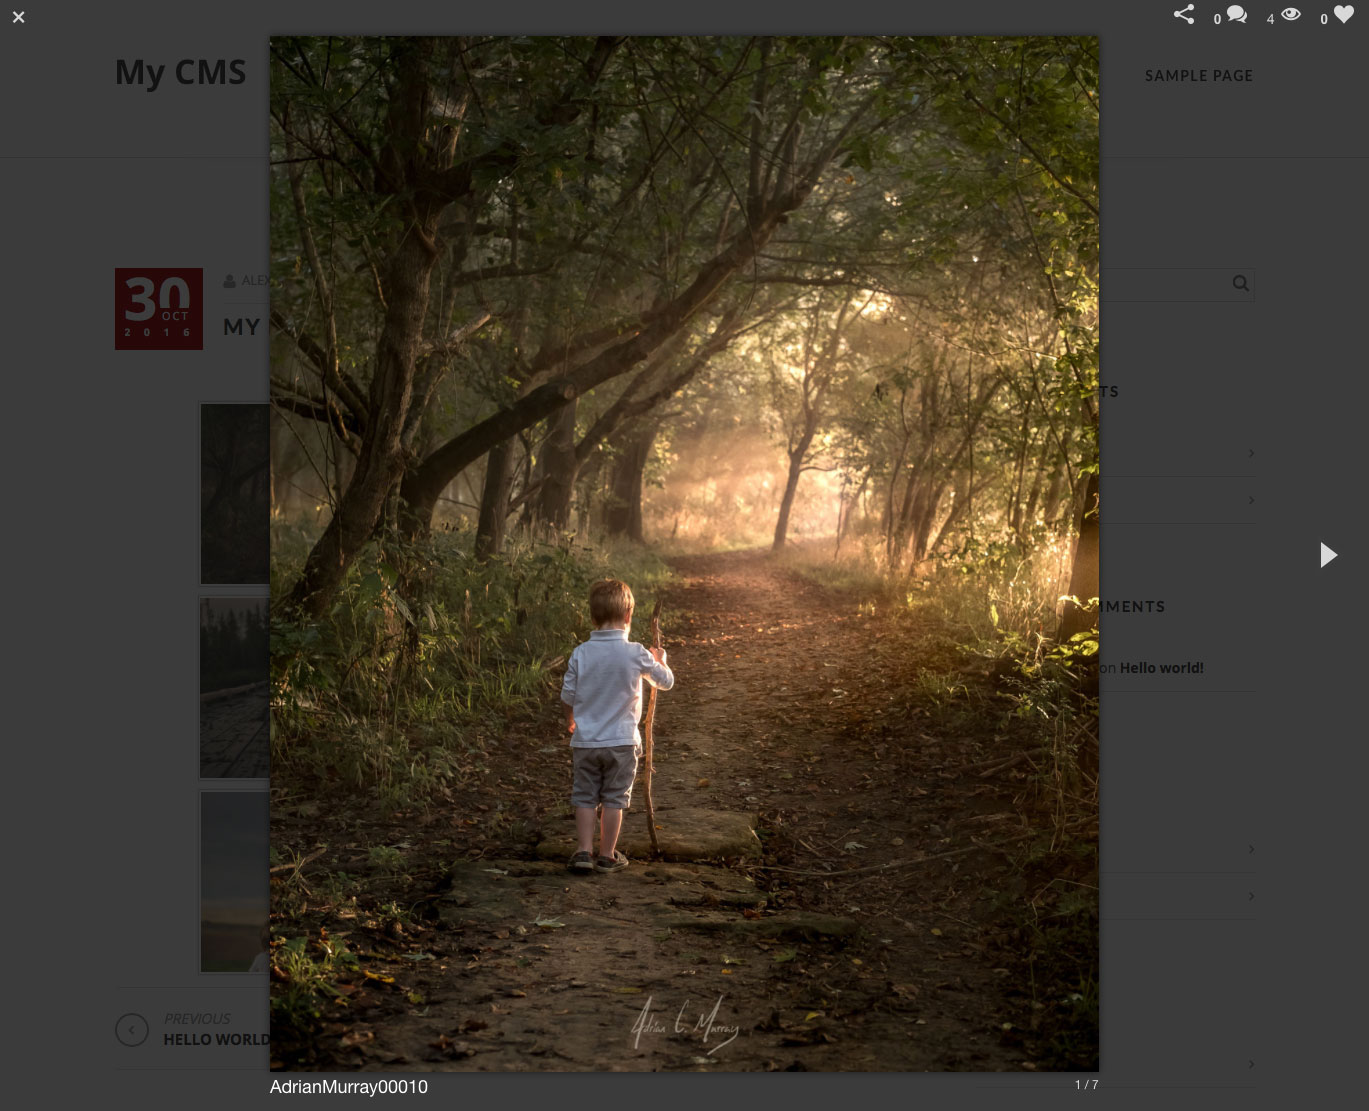
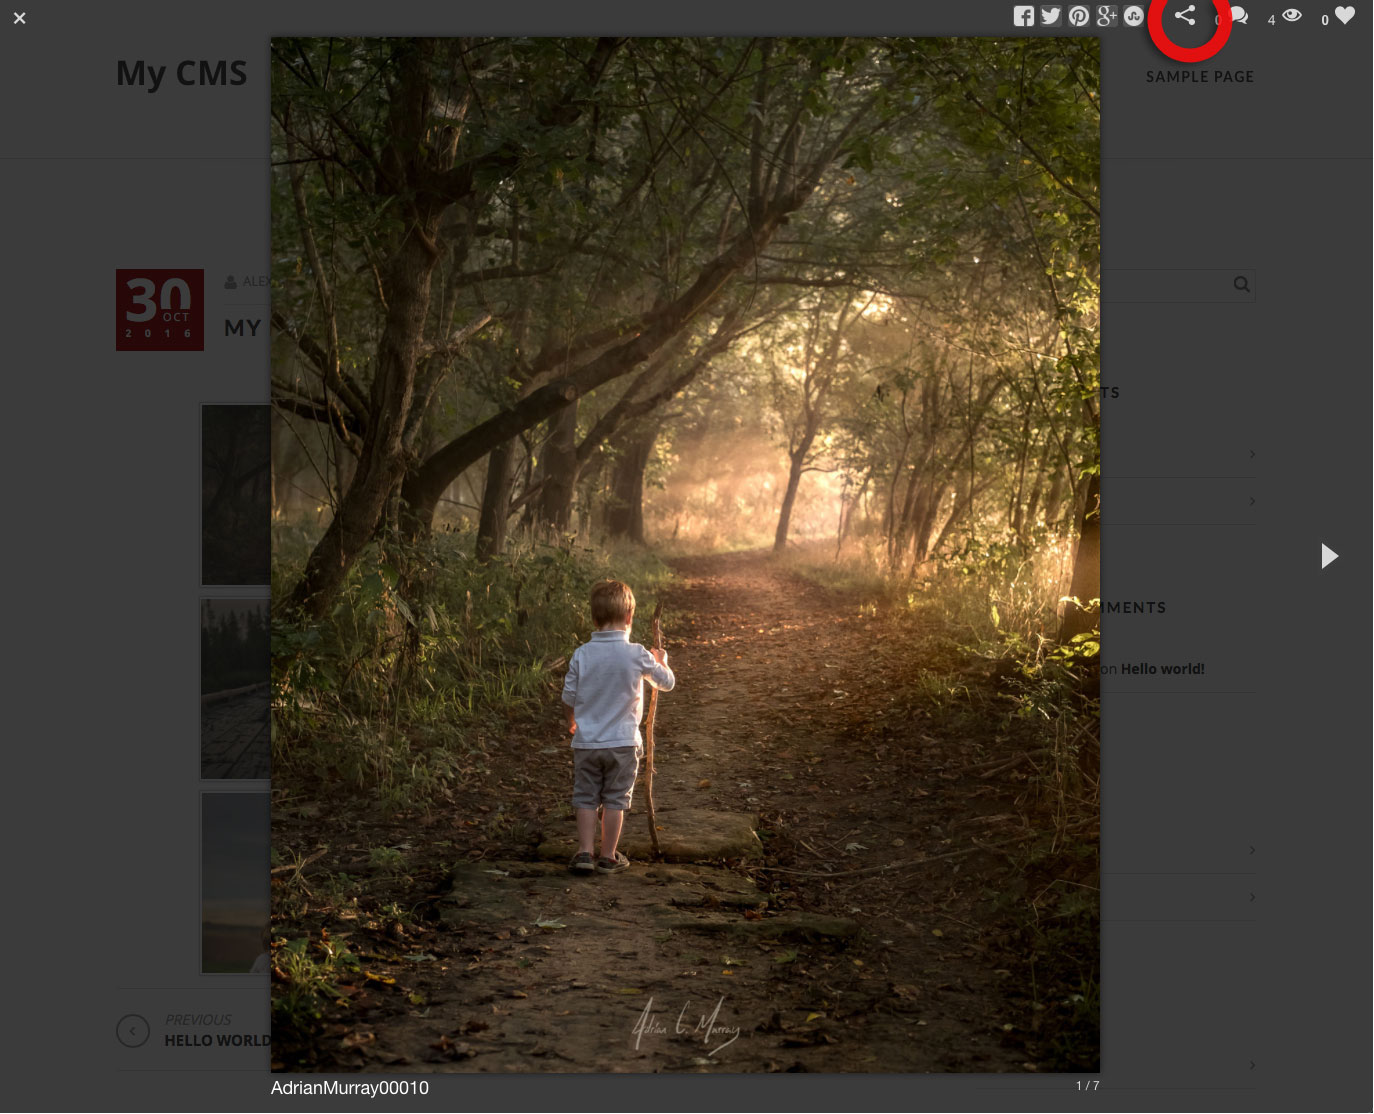
Gmedia Gallery allows your readers to share your images on all the top social networks like Facebook, Twitter, Pinterest and Google+.
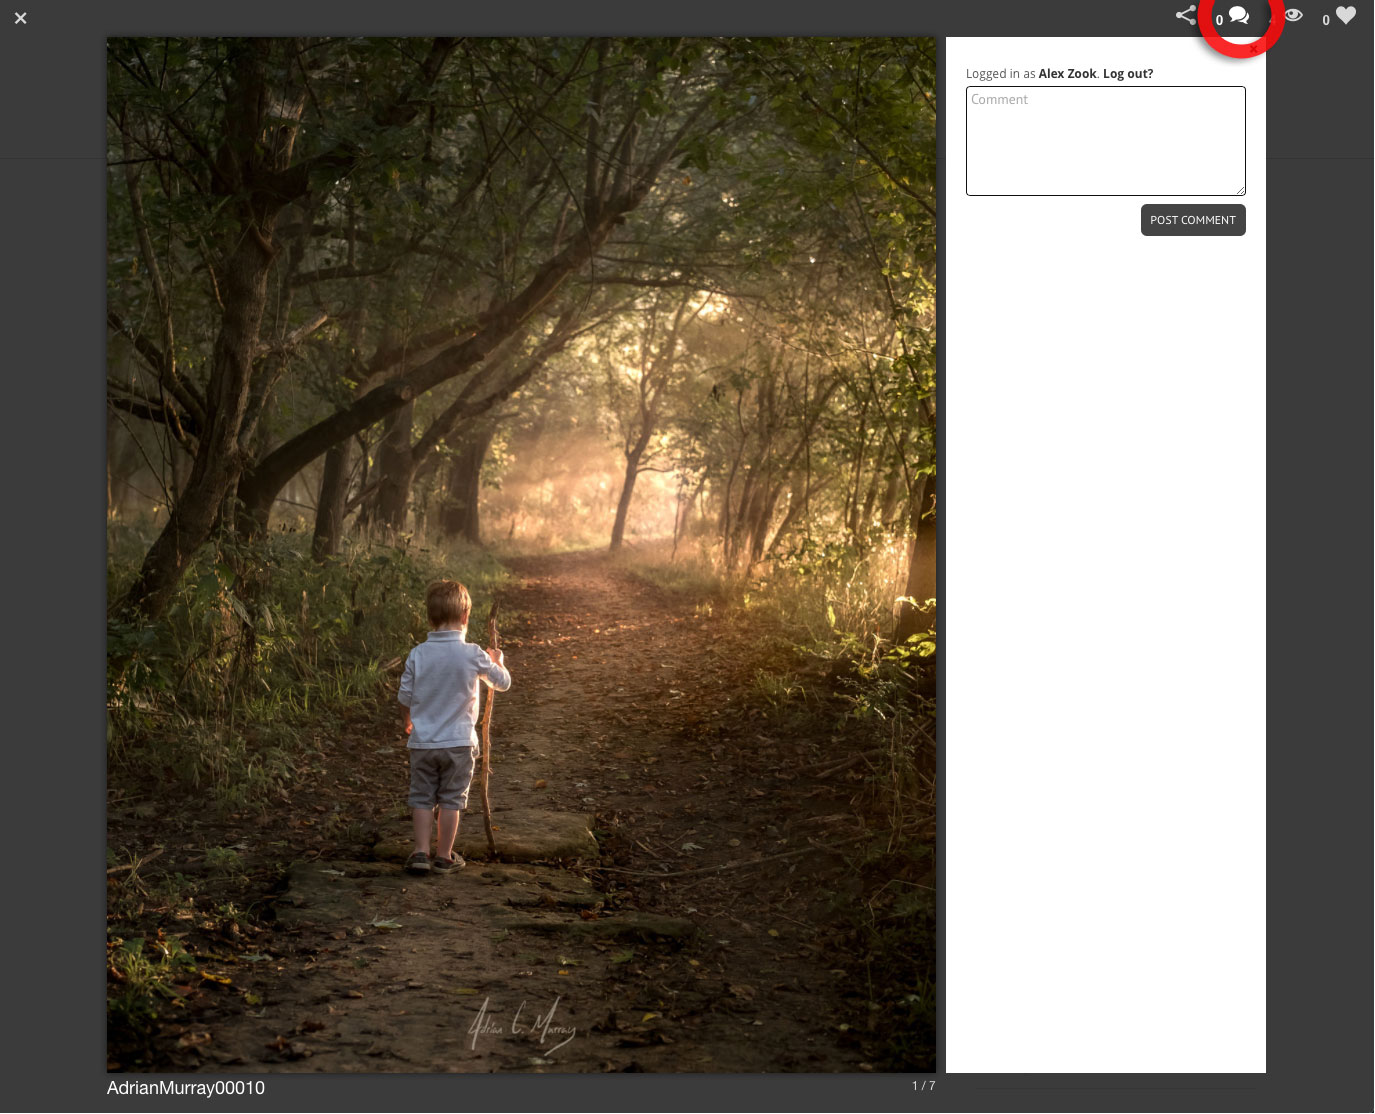
Allow your visitors to leave comments on images in real-time. Image commenting can be disabled for individual images or even entire galleries.
Once you are happy with the way it looks, you can publish your post and your gallery will be visible for everyone.
Note: Yes, this technique can be used for pages as well. If you want to add an image gallery to WordPress pages, then follow the same exact method.