Create a new Album and add your images
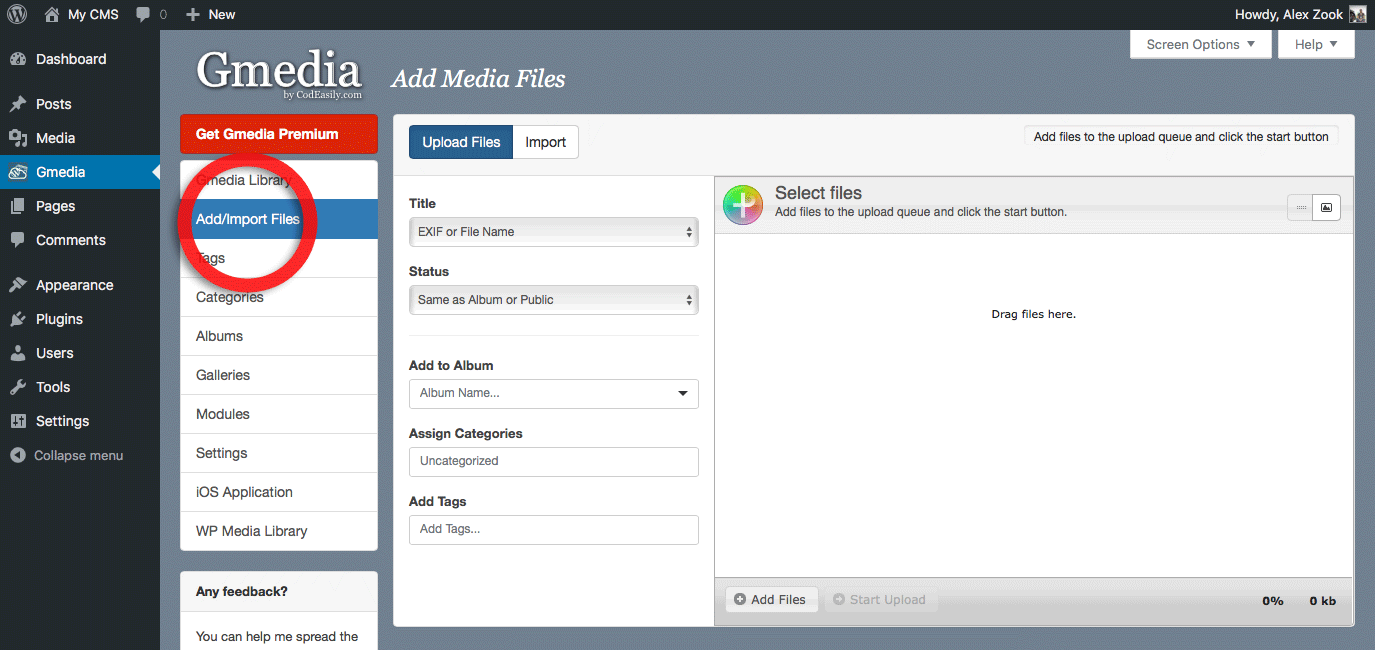
The easiest way to create an album to open Add/Import Files tab from Gmedia Toolbar. Navigate to the WordPress Admin > Gmedia Toolbar and select the Add/Import Files button:
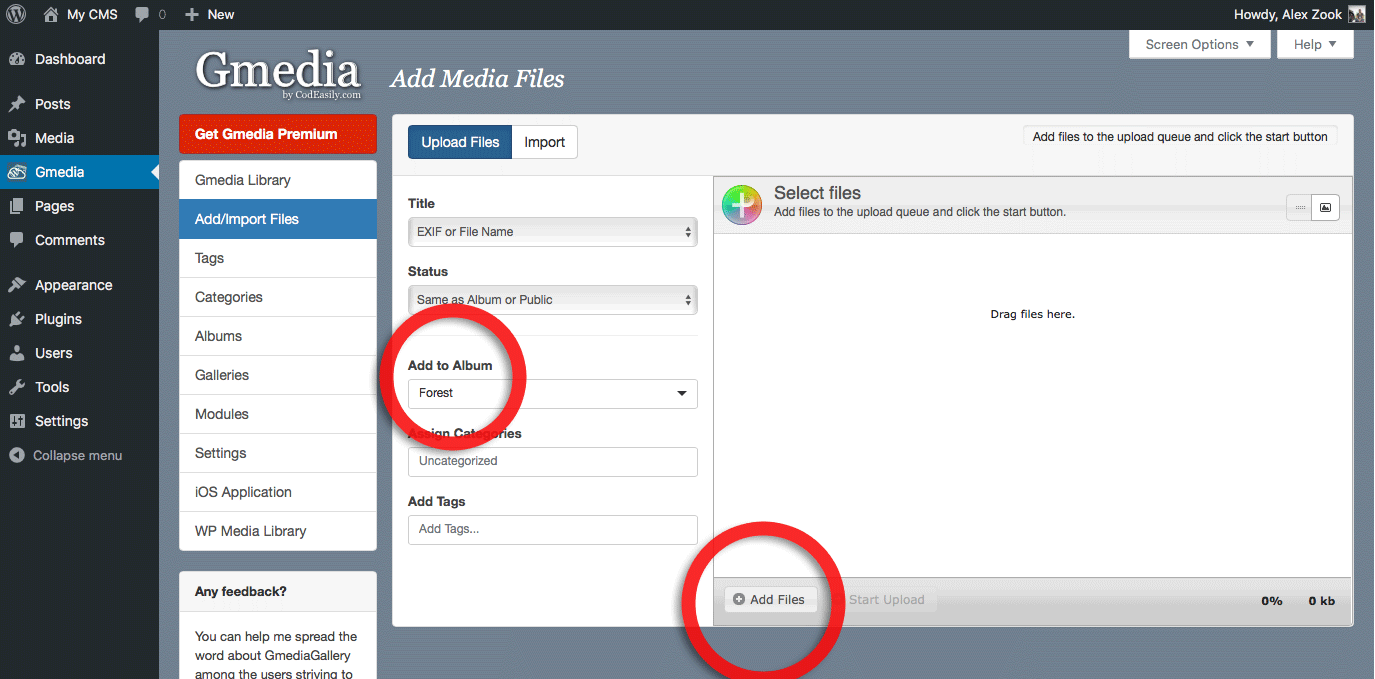
Next, enter an album name in the Add to Album field, it will help you organize your photo library, and easy to manage your photo collections in the future. And then You need to click on the Add Files button.
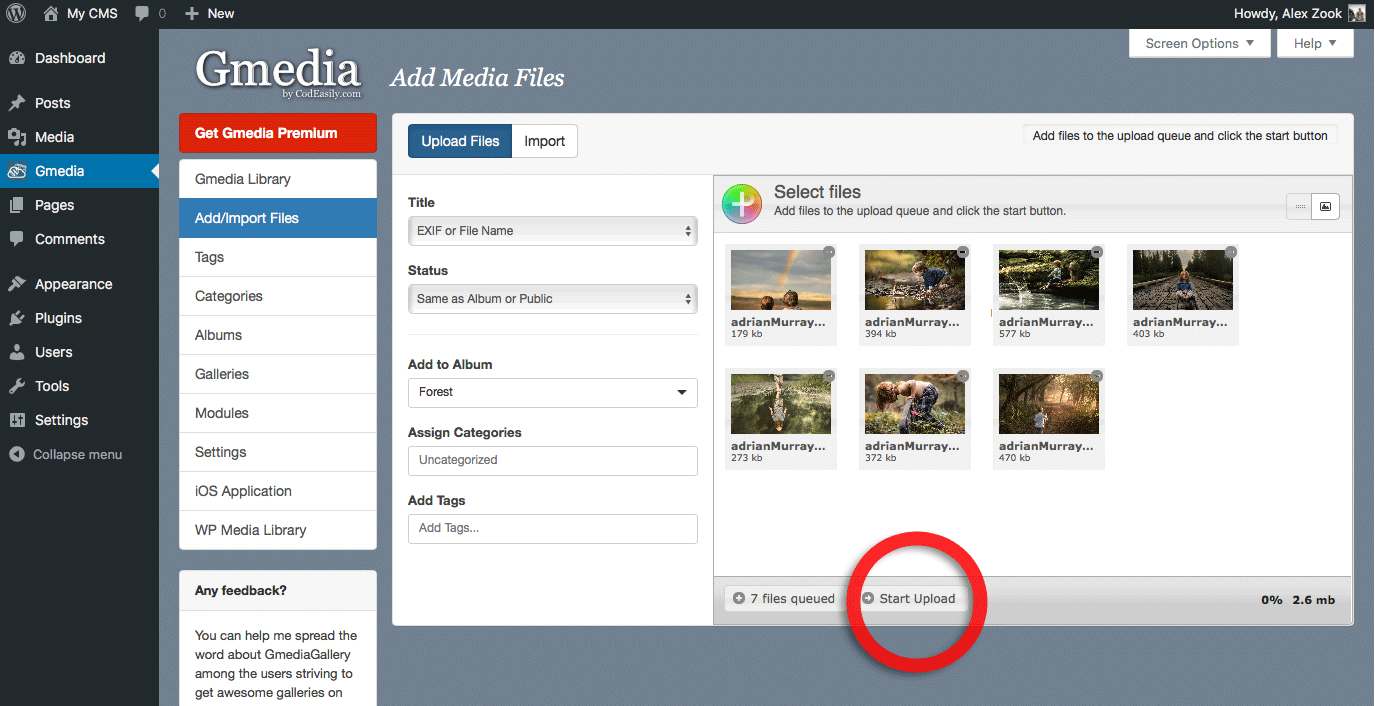
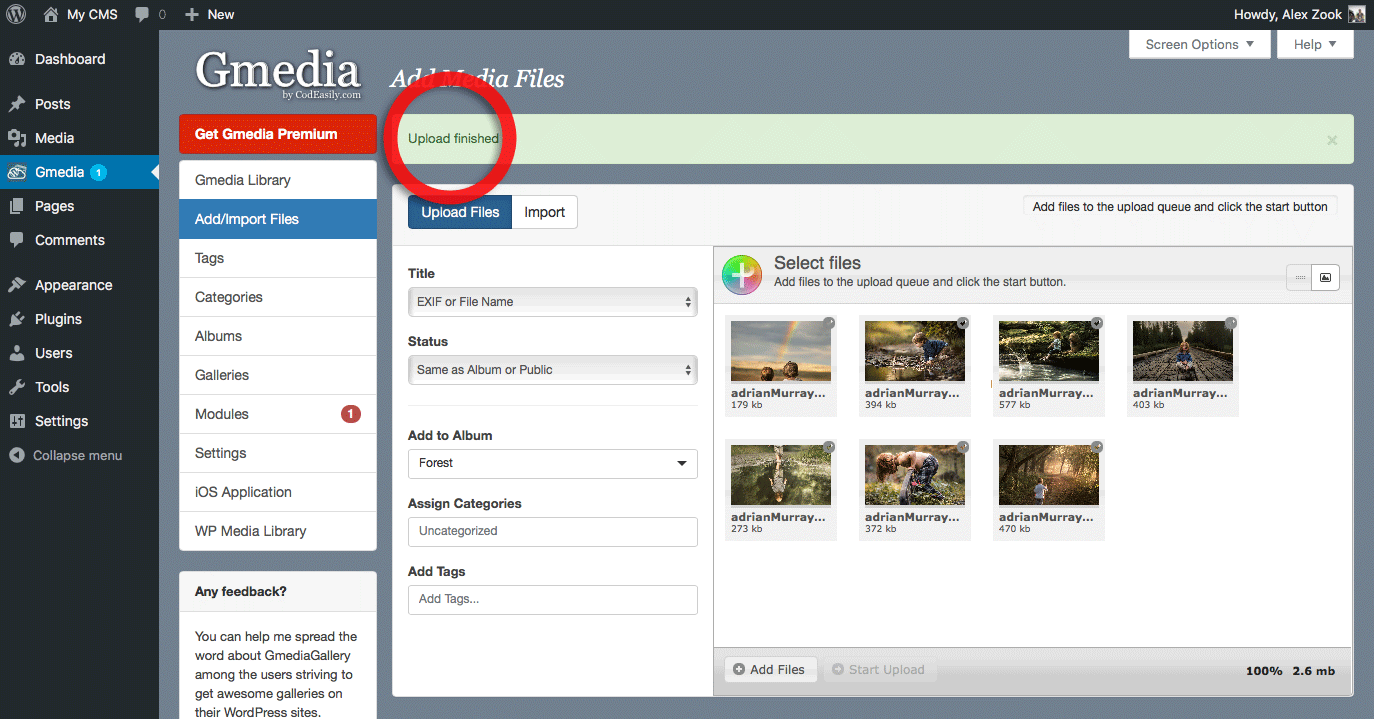
Select the photos to your computer and click the Start Upload button:
Upload finished – it is a message saying that everything is ready:
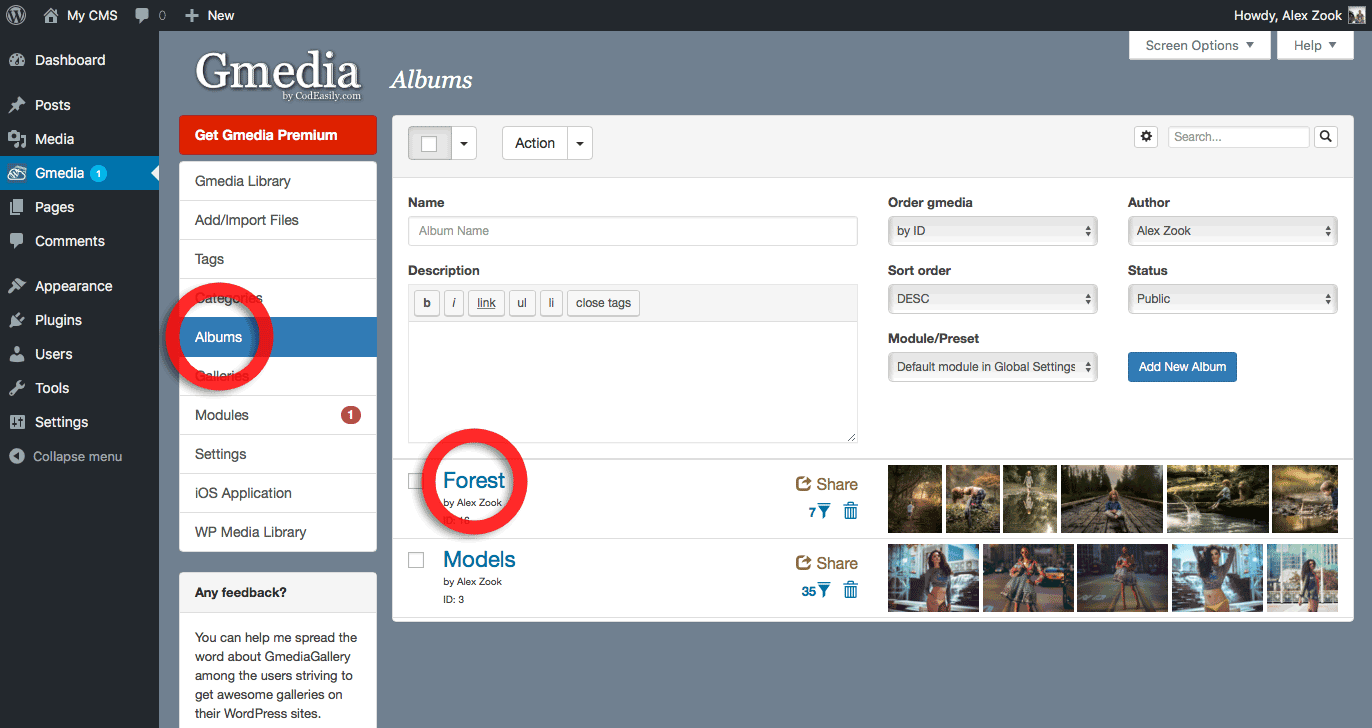
Now we are ready to publish our album. You need to click on Albums button that you see on the Gmedia sidebar menu. And then you need to choose our photo album, click on the title of the album:
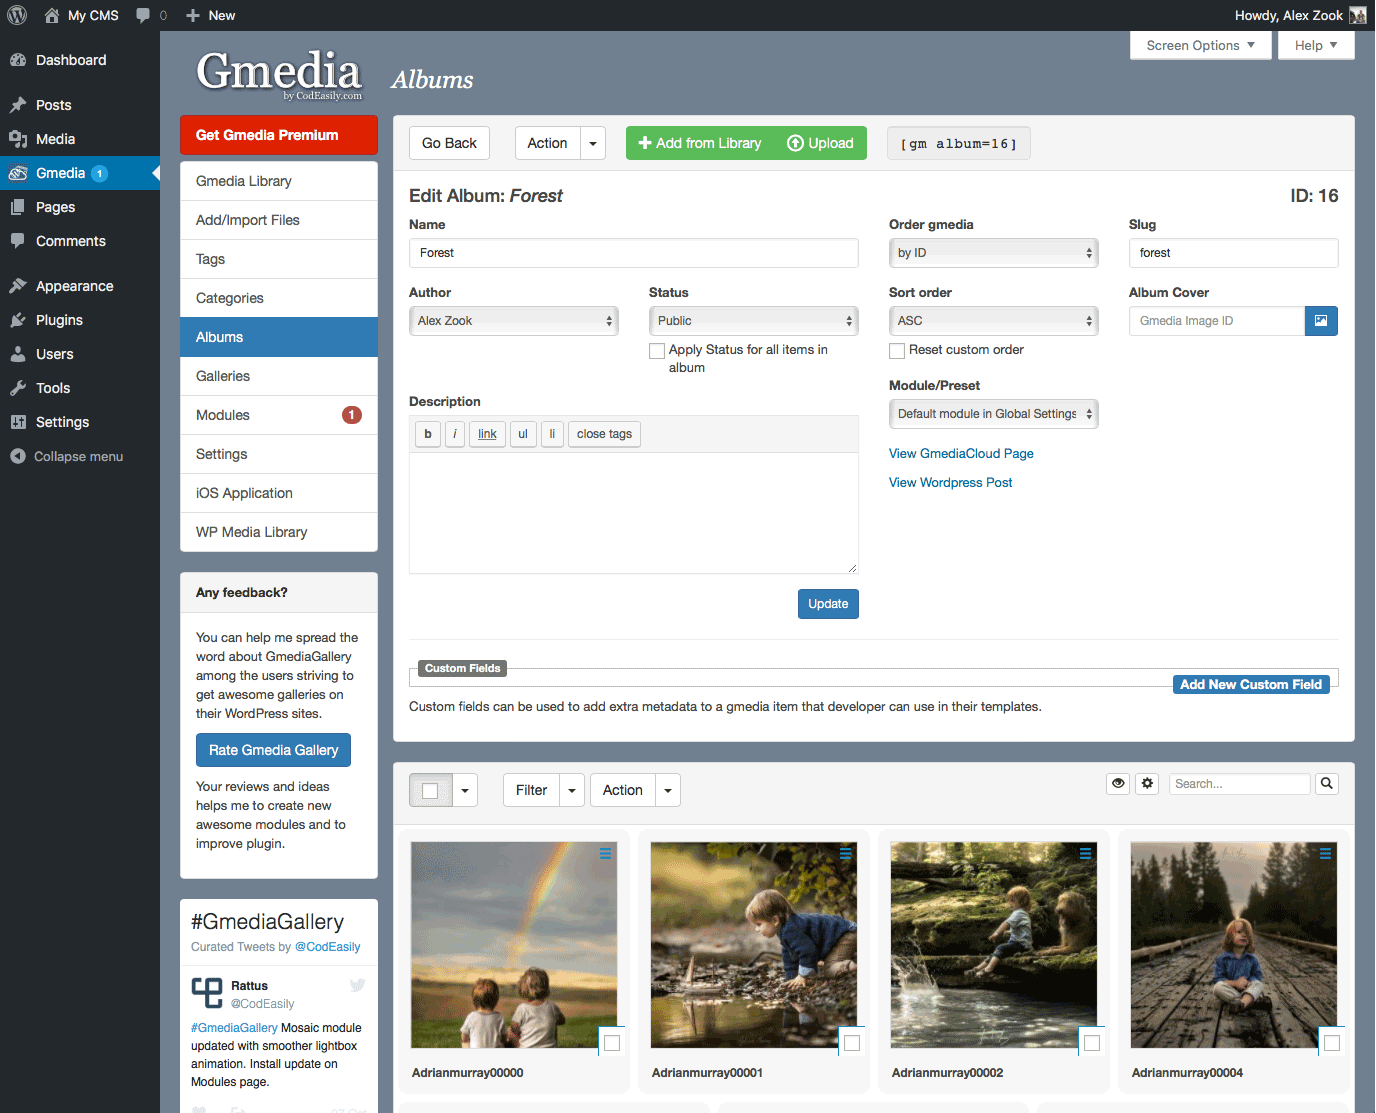
This will open the Album Editor. Here you can change common settings for a album:
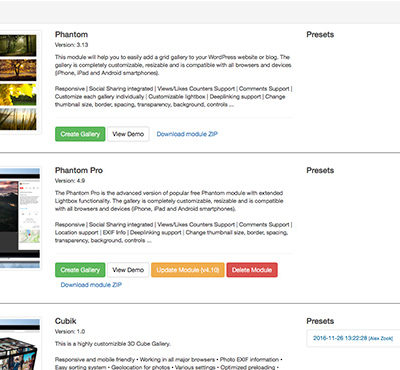
If you want to change the look of your album (for example, you want a 3D Cube), you need to select a specific Module or Preset for display of album (we choose Cubik) and click Update button to save changes:
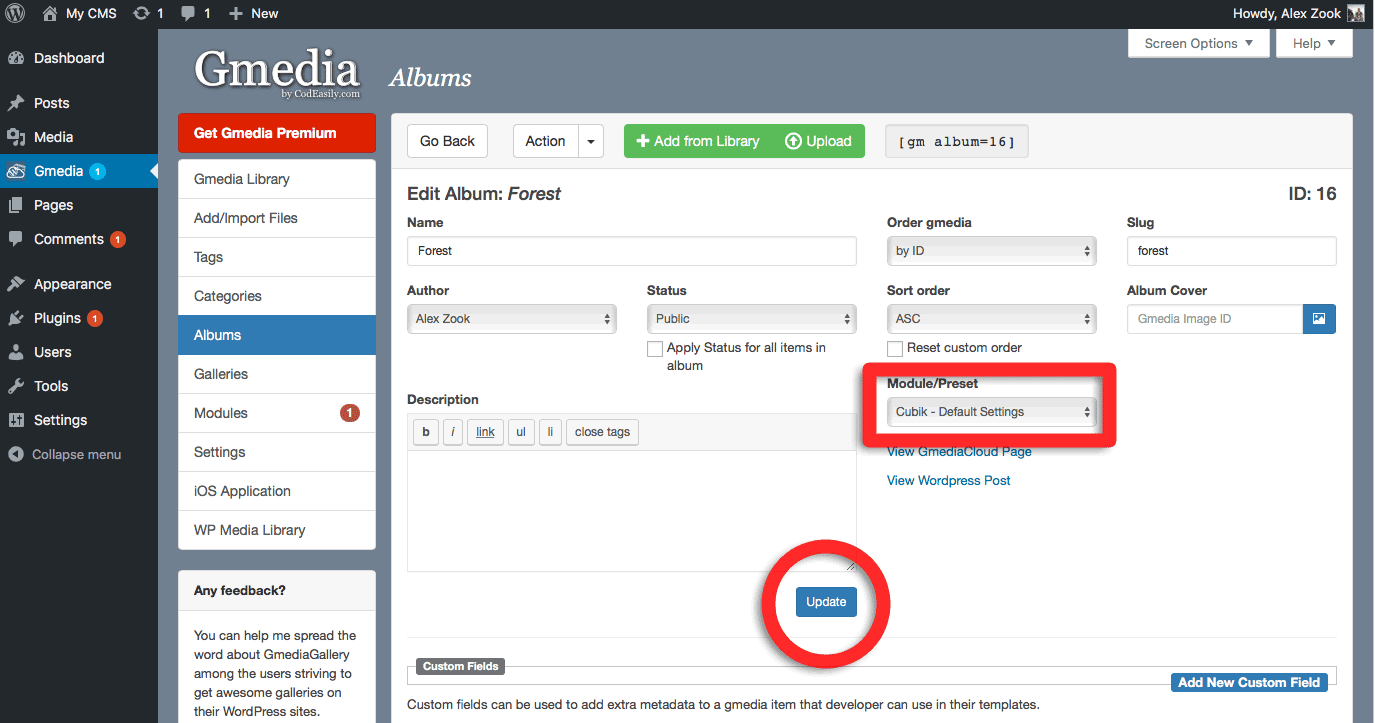
Album `Forest` successfully saved – it is a message saying that everything is ready. Next step – copy Album shortcode [gm album=16] and past to the Post or the Page: